Overview#
This page describes the basic parts of Anaconda Navigator.

- Navigator pages
Access the main pages of the Navigator application. The Home page is open by default. For more information on the contents of each page, see Navigator pages.
- Application/package tile
Install or launch popular graphical Python applications that work well with Navigator.
- Channels
Manage the channels Navigator can use to source and install packages.
- Connect
Connect to Anaconda Cloud or any of the free or subscription repositories Anaconda provides. Signing into a repository service will enable searching for packages within that repository.
- Outside links
Visit Anaconda’s documentation, blog, and social media.
Home page#
The Home page is open by default when Navigator starts. Home displays all of the available applications that you can manage with Navigator.
The first time you open Navigator, the following popular graphical Python applications are already installed or are available to install:
Available applications
You can also build your own Navigator applications.
Working with application tiles#
In each application tile, you can:
Launch the application–Click its Launch button.
Install an application–Click its Install button.
Update, remove, or install a specific version of an application–Click the gear icon in the top-right corner of the application tile.
Applications are installed in the active environment, which is displayed in the Applications on list. To install an application in a specific environment, first select the environment from the list, then click the Install button on the application’s tile.
Environments page#
The Environments page allows you to manage installed environments, packages, and channels.
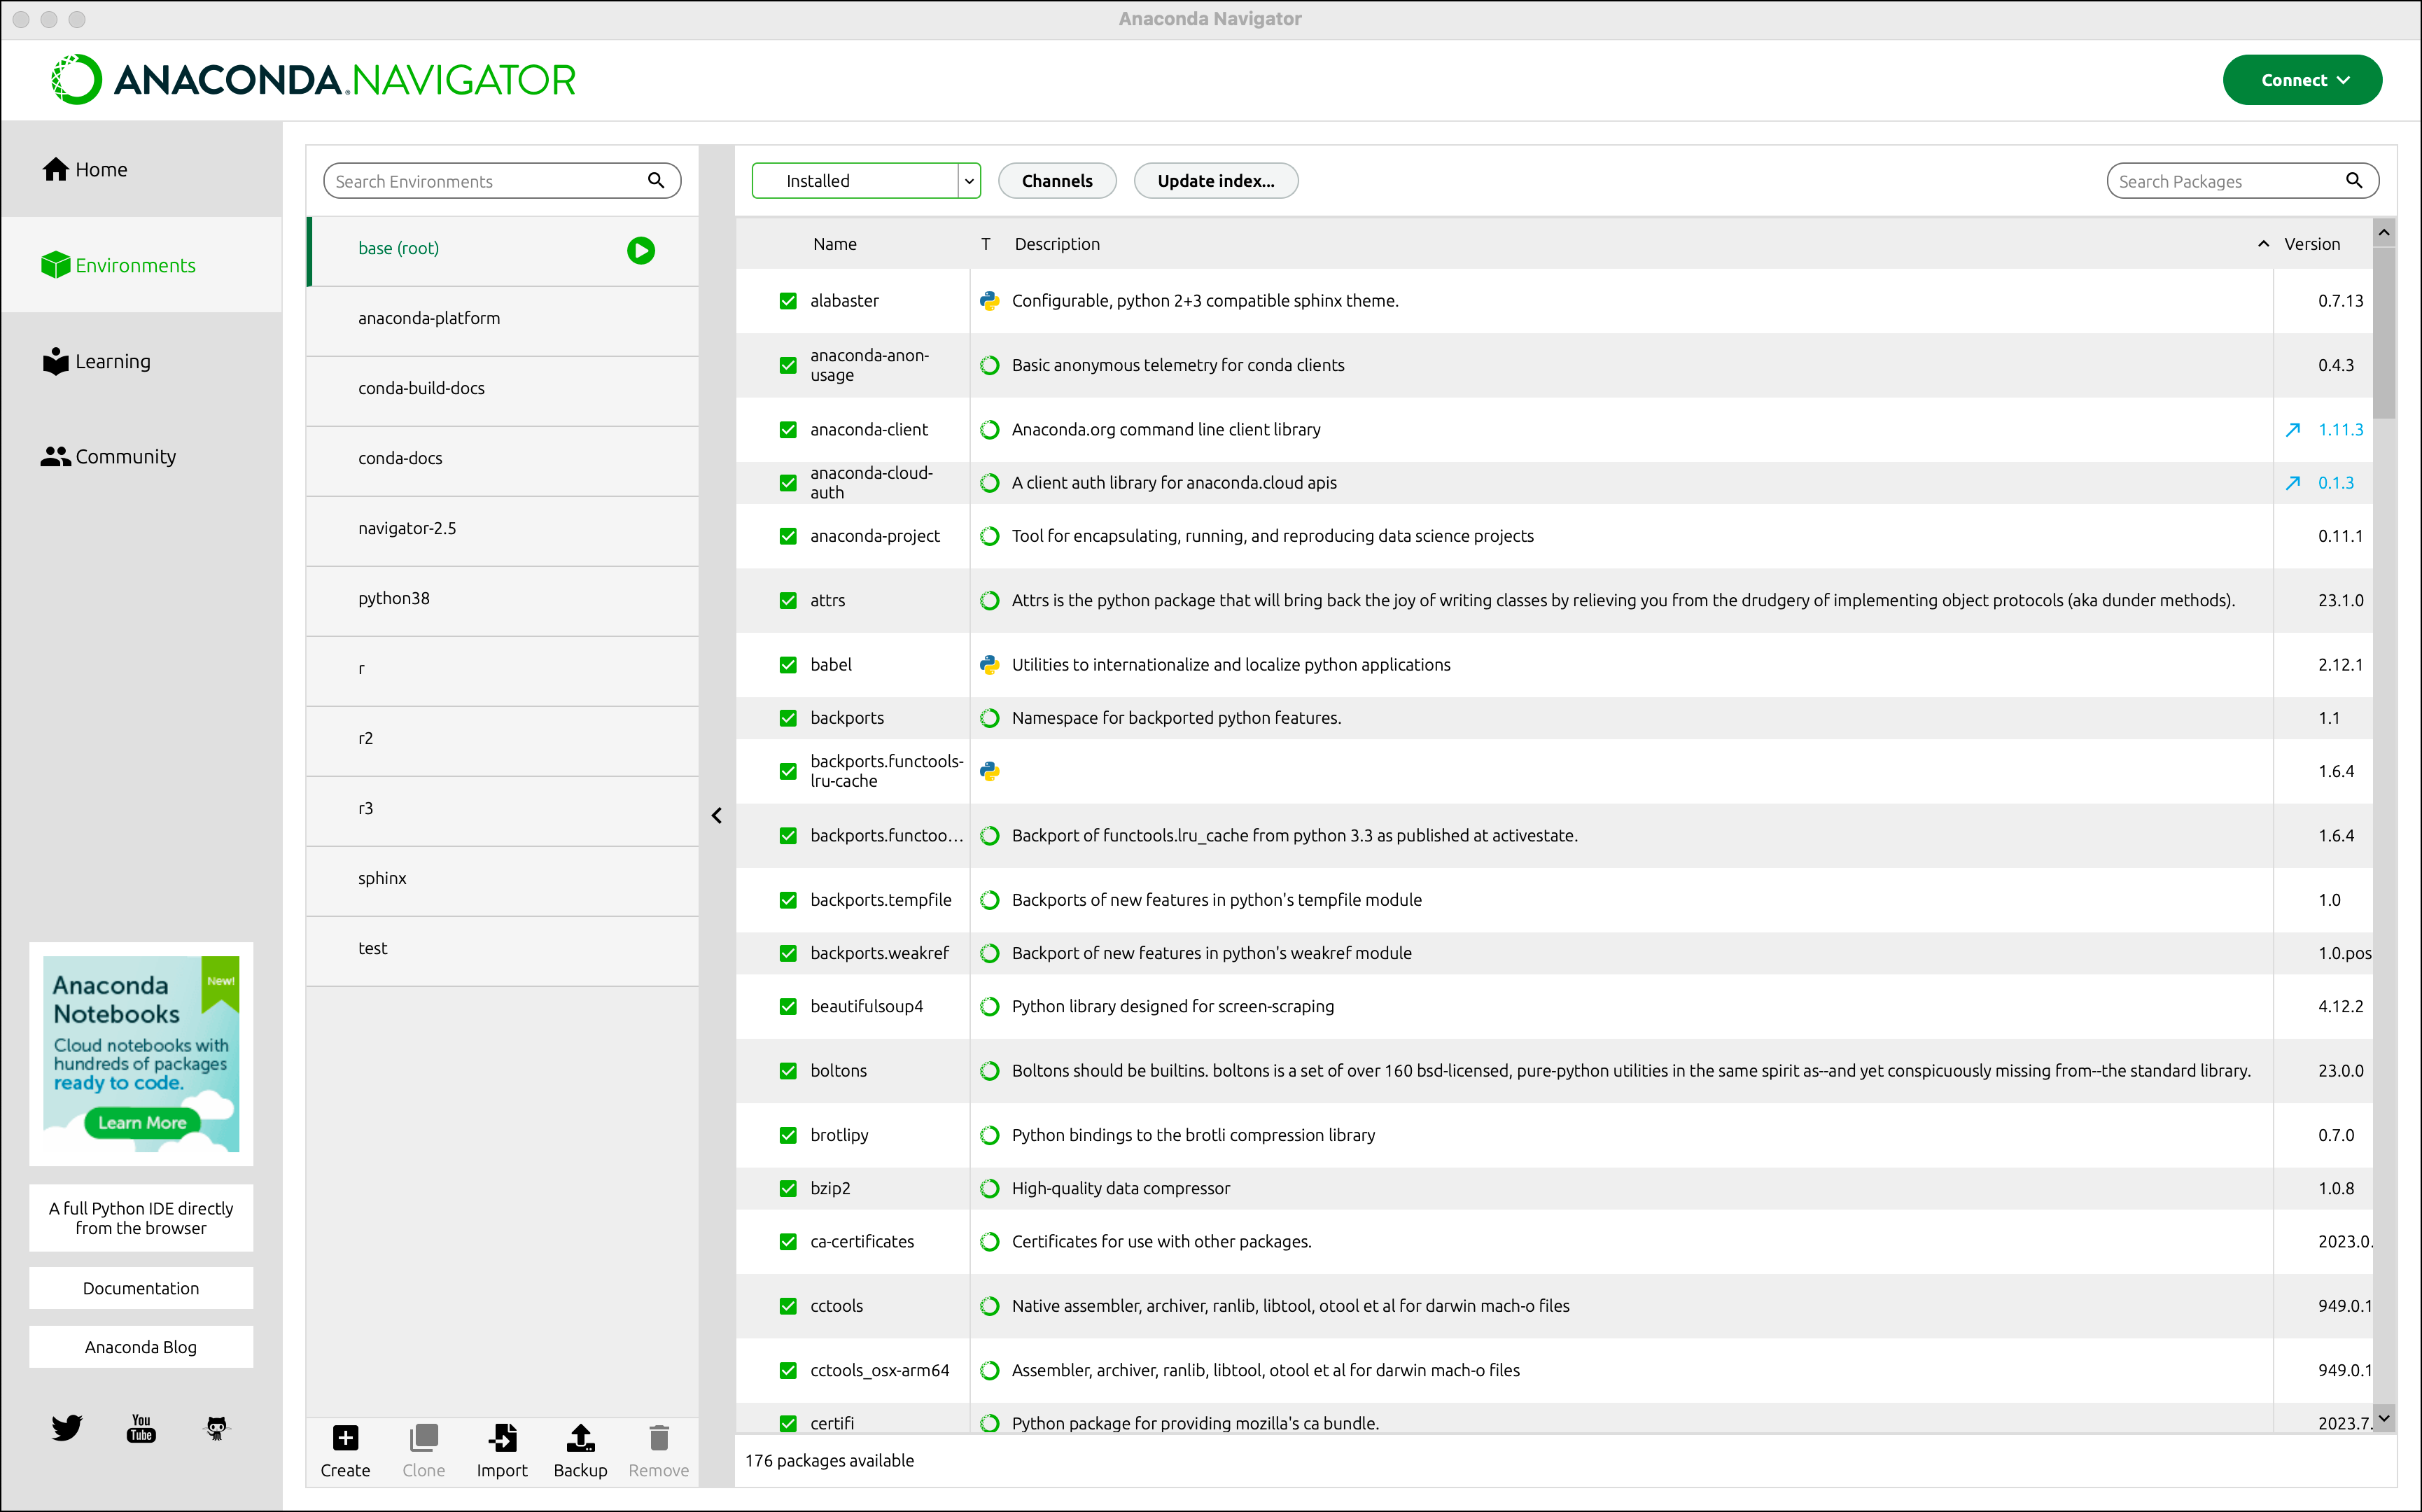
The left column lists your environments. Click an environment to activate it.
Environments
With Navigator, like with conda, you can create, export, list, remove, and update environments that have different versions of Python and/or other packages installed. Switching or moving between environments is called activating the environment. Only one environment is active at any point in time. For more information, see Managing environments.
Packages
The right column lists packages installed in the currently-activated environment. The default view is Installed packages. To change which packages are displayed, click the arrow next to the list, then select from Installed, Not Installed, Updatable, Selected, or All packages. For more information, see Managing packages.
Channels
Channels are locations where Navigator or conda looks for packages. Click Channels to modify which channels Navigator uses. For more information, see Managing channels from Anaconda.org.
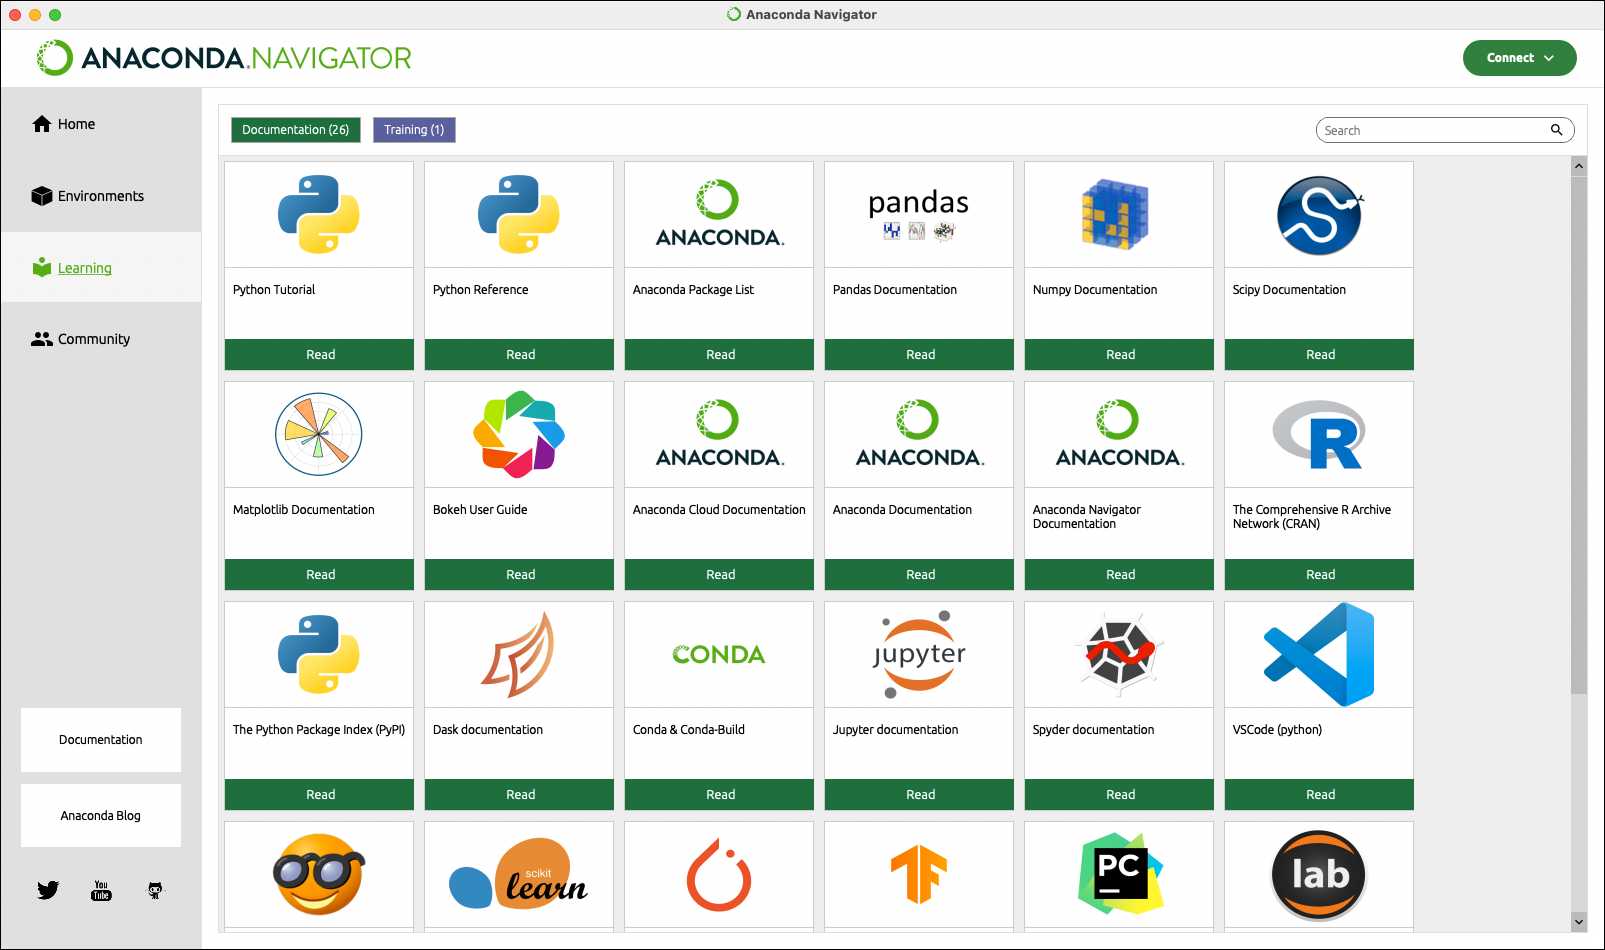
Learning page#
On the Learning page, you can learn more about Navigator, the Anaconda platform, and open data science. Click Documentation or Training to filter the learning tiles visible to you. Click any tile to open it in a browser window.
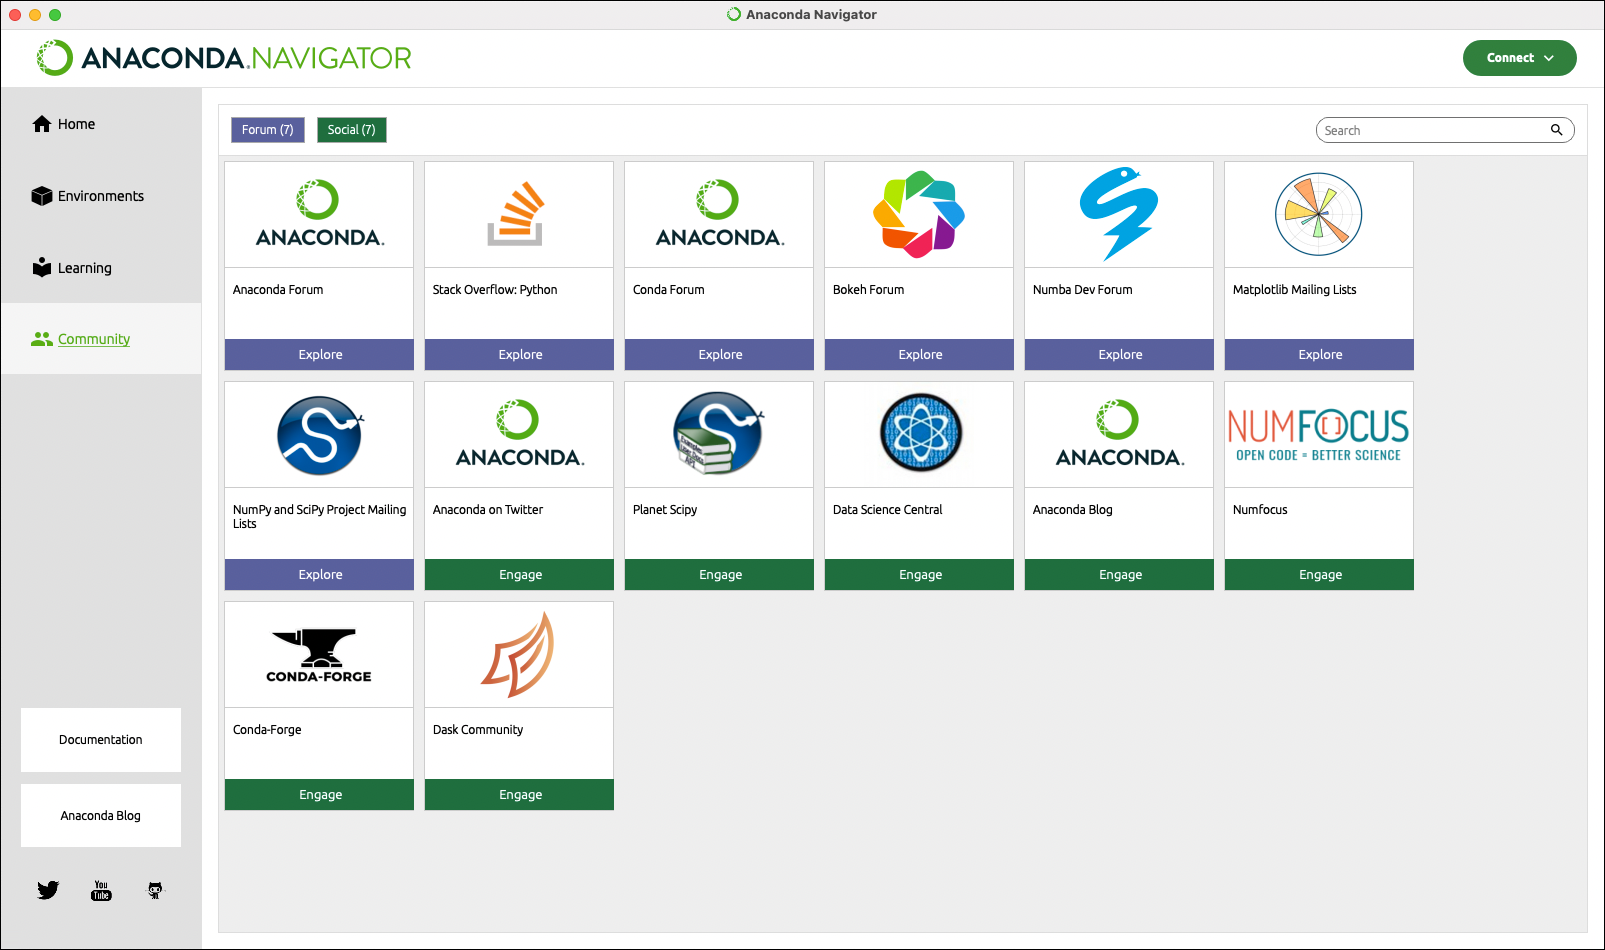
Community page#
On the Community page, you can learn more about free support forums and social networking relating to Navigator. Click Forum or Social to filter the community tiles visible to you. Click any tile to open it in a browser window.
Tip
To get help with Anaconda and Navigator from the community, join the Anaconda community.